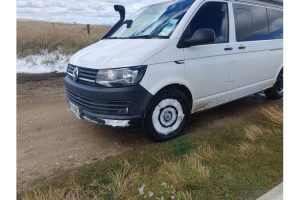
T6 high top 4 Motion
Its hard to imagine what goes into converting a van, it might seem simple – well it sort of is in a way BUT its all bespoke, jobs that you think i can knock that of in a few hours can take all day and some, this is a van i bought as a stop gap whilst i waited for a 4Motion LWB i had ordered (18month delivery) whilst it doesnt have the pop top it is still fitted out in the same way.
I have added a lot of photo’s i took whilst converting – if i were a youtuber i would be making video’s!
This is the 5th van i have converted.
I dont put mains hook up into the vans because what would you need it for? there is ample 12v power + inverter.
Take one ex defense force mini bus, being a lease vehicle to the military you know it has been serviced well and maintained to a high std – its probably even been cleaned by naughty squaddies with a toothbrush 🙂
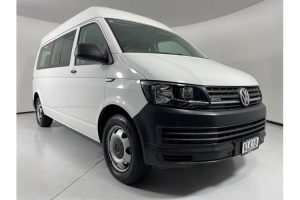
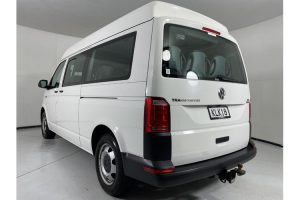
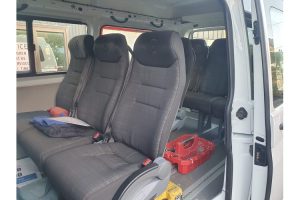
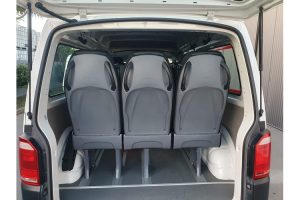
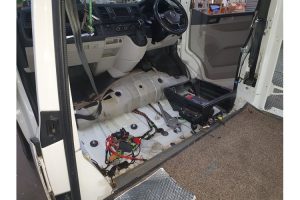
Strip out the seat and all the ply lining, and add additional sound deadening to panels, i use Dodo mat which is a butanol type product
Fill all the voids with insulation, we are going to be using this all year round, it also helps further to sound deaden.
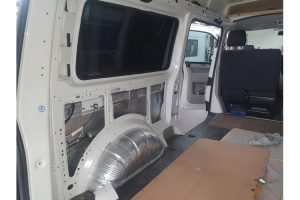
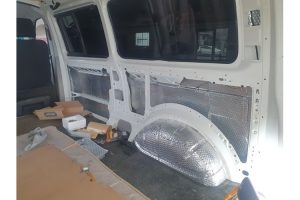
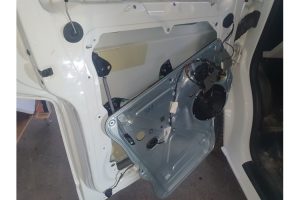
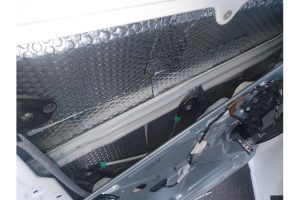
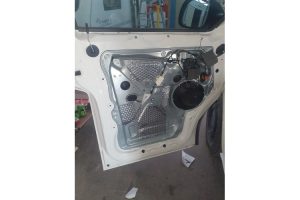
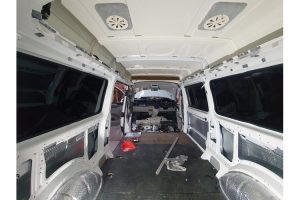
Replace the wood paneling and prepare for carpet lining. I use a 4 way stretch carpet, it takes a while but you can work it into all the corners and it looks pretty good when finished, i have never chosen to try and wood panel walls as this is usually done in bigger vans where you can afford to loose some space, carpet takes up minimal space.
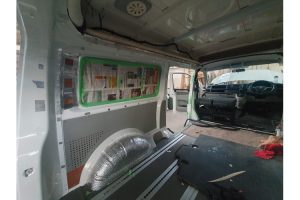
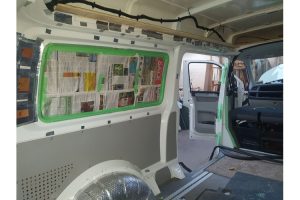
Both sides carpet lined now,
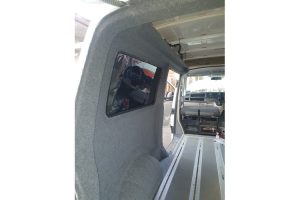
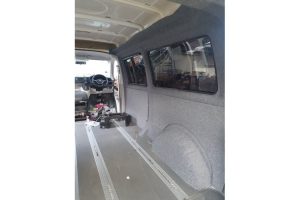
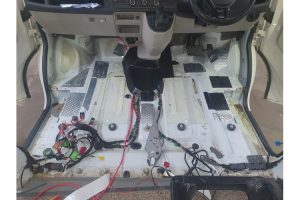
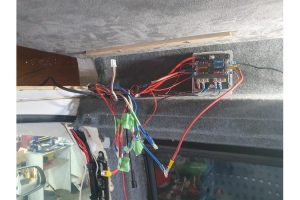
Wires wires wires and a bit extra sound deadening
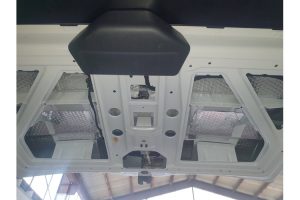
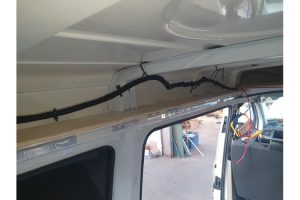
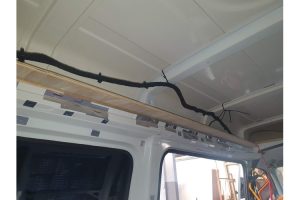
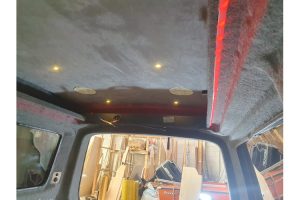
I have always put poptops in so having a mid roof was something different, i made a little shelf around the roof line, then insulated the roof with foam type insulation, then i could board the roof and cut the LED’s in, planning where to put all the wires is a challenge, i will often run a few extra for when i realize i haven’t run one for…..
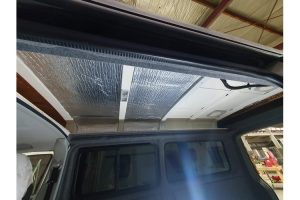
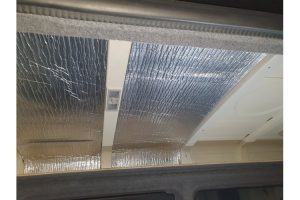
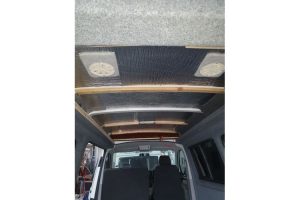
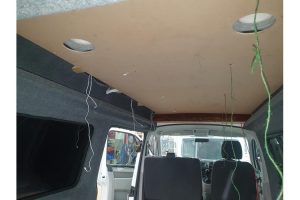
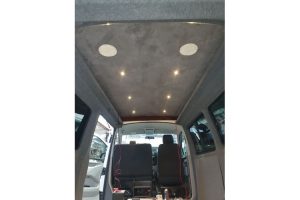
Once all the roof is up and lined thats a big job out the way as you now have your ‘space’ you can start to furnish
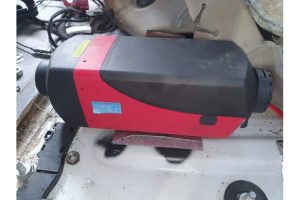
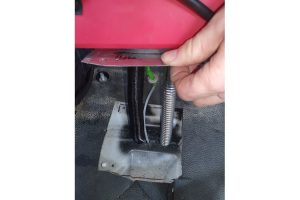
Next job is to fit the diesel heater under the drivers seat, this is ducted into the rear, its plumbed into the main fuel tank so there is no worry (and mess) of keeping a small internal tank full.
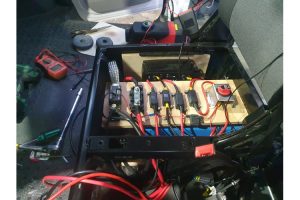
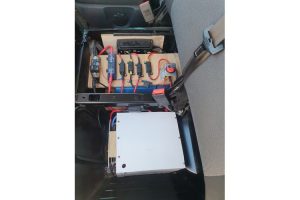
Electrics are all under the passenger double seat, i have a 230Ah lithium battery, which is charged by a 50amp DC-DC charger and also a solar panel on the roof,
I wanted to move away from plumbed in gas so have fitted an induction hob, so also in there is a 1200w inverter with a few 240v sockets around the van.
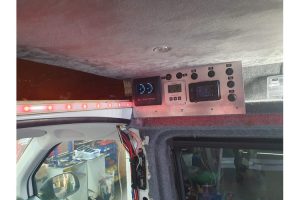
All the wires are fed up to the control panel – looks a bit of a jumble but all tidied up nicely. So on the control panel you have the fresh and waste water tank monitor,
the battery display, this will tell you how many amps are in the battery, the rate they are been used, (quite high with induction running) and the state of charge from the solar and DC-DC charger, the diesel heater controller, around the edge are the on/off switches.
The diesel heater is a game changer in these vans we have been away in minus weather, with the heater on low overnight is is toasty warm.

I got all flash this time and fitted led strip light all the way around, it can be dimmed and the colour changed, it makes for really nice ambient light in the eve.
There was much work went on under the van 2, there are 4 water tanks under there, with about 40L of waste water and 50L of fresh water capacity, i also fitted a hose point at the rear door so you can connect a hose to washdown bikes or use it as a shower (cold)
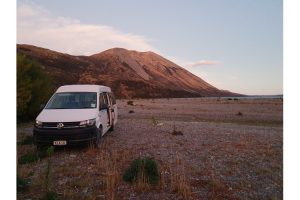
some pics bellow of the finished van, i chose to make a slide out kitchen unit, in summer you have a good space to use for outdoor cooking, i do carry a portable gas stove just for that extra burner, i put a large 12v fridge in, the bed pulls out to the side to make into a double
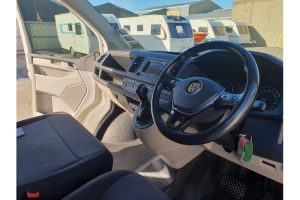
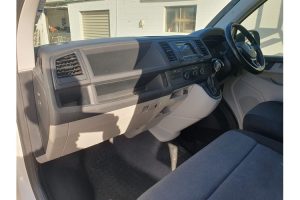
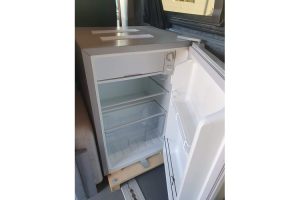
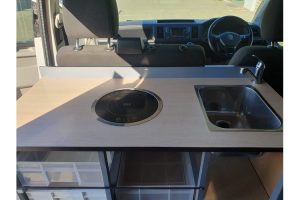
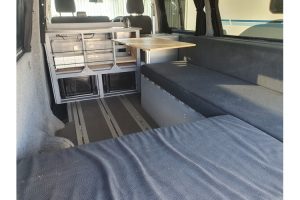
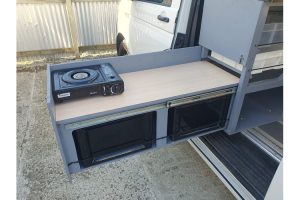
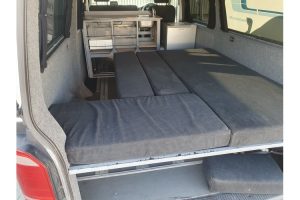
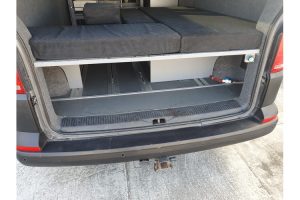
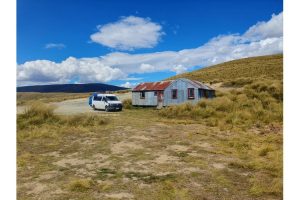
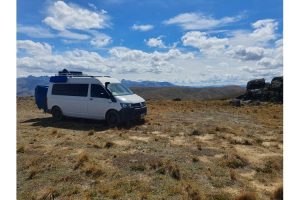
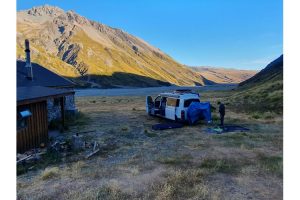
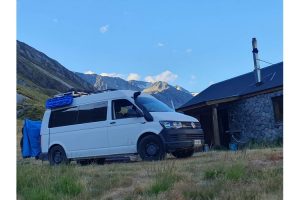
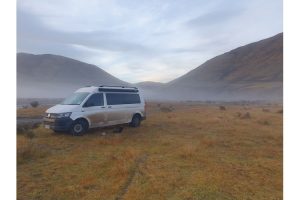
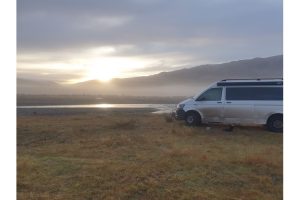
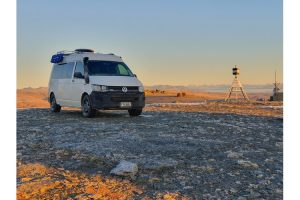
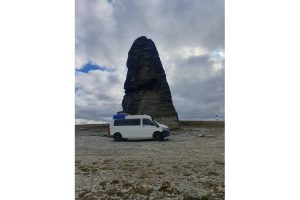
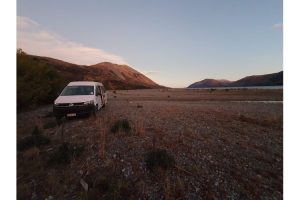
The van is a 4Motion, its not a hardcore 4×4 and you dont have the same ground clearance. but if you want to explore NZ off the beaten track this is the camper to do it in.
